
How Much Bleed Do You Need for Signage Printing?
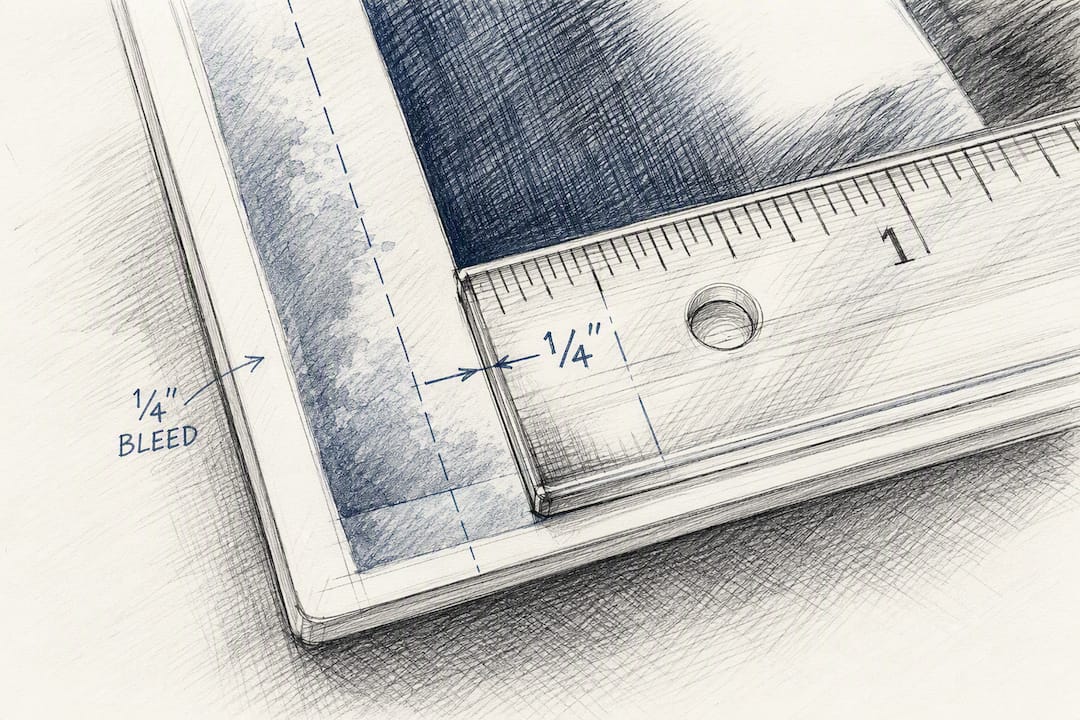
For most signage, run 0.125 inches (3 mm) of bleed on small, flat prints and 0.25 inches (6 mm) on rigid signs like acrylic or aluminum panels; vinyl banners typically fall between 3–10 mm depending on the finishing. The one move that matters more than any of those numbers: confirm your printer's template before you export, since house specs override every general rule.
A few exceptions worth flagging before you build your file:
- Double-sided prints often need more bleed to keep both faces registered correctly.
- Fabric and stretch banners move during printing and finishing, so they usually need extra tolerance.
- Hems and grommets eat into your design area. Check hardware placement before you finalize artwork.
Key Takeaways
Correct bleed for signage depends on the material and finishing method, and confirming the printer's exact template beats relying on any general default.
| Point | Details |
|---|---|
| Default bleed values | Use 0.125" (3 mm) for small prints and 0.25" (6 mm) for rigid signs as a starting point. |
| Banners need a range | Vinyl banners typically run 3–10 mm bleed depending on hems, grommets, or cassette finishing. |
| Safe area protects content | Keep text and logos 5–10 mm inside the trim line, with larger margins on tall banners. |
| Export settings matter | Use CMYK, PDF/X-1a or X-4, embedded fonts, and crop marks placed outside the bleed zone. |
| Crispsign checks files before print | Crispsign's team reviews bleed, safe area, and resolution during its file-check process before production. |
Table of Contents
- What Bleed Is and Why It Matters for Signage
- Recommended Bleed Amounts by Format and Material
- How to Set Up Bleed in InDesign, Illustrator, and Photoshop
- Safe Area, Crop Marks, and Export Settings Printers Expect
- Material and Finishing Choices That Change Your Bleed Needs
- Packaging and Shipping Basics for Finished Signs
- Preflight Checklist Before You Send Files to Print
- What Actually Trips Up Sign Files (and How to Fix It)
- Get Your Sign Made Without Second-Guessing the File Setup
- Sources
- FAQ
What Bleed Is and Why It Matters for Signage
Bleed is the extra artwork you extend past the trim line so nothing important gets cut off or left with a white sliver at the edge, a vital principle demonstrated by bronx graphic design professionals in their design-to-print workflows. Three terms travel together with it, and mixing them up is where most first-time sign orders go sideways:
- Trim line — where the final sign actually gets cut.
- Safe area — the buffer zone inside the trim line where text and logos should live, protected from any shift.
- Crop marks — small guide lines outside the bleed that tell the cutter exactly where to slice.
Why does any of this matter mechanically? Large-format printers and cutting tables aren't perfectly precise. Material can shift a millimeter or two during printing, laminating, or routing. Fabric stretches. Vinyl can creep slightly on the roller. Without bleed, that tiny drift shows up as a visible white border, a logo with its edge sliced off, or text that lands crooked against the trim. Bleed is the margin of error built into the file so the finished sign still looks intentional even when the machine isn't perfect.
Recommended Bleed Amounts by Format and Material
Default bleed changes with material and finishing, not just print size. University printing guidance and multiple sign-shop standards put 0.125 inches as the baseline, with many signage providers defaulting to 0.25 inches for anything rigid.
| Format/Material | Recommended Bleed | Notes |
|---|---|---|
| Small prints/postcards | 0.125" (3 mm) | Standard commercial print default |
| Posters | 0.125"–0.25" (3–6 mm) | Match to printer's stated spec |
| Rigid signs (acrylic, aluminum) | 0.25" (6 mm) | Many sign providers default here to cover trim movement |
| Vinyl banners | 3–10 mm | Depends on hem, grommet, and cassette finishing |
| Fabric/stretch displays | 5–10 mm | Fabric shifts more than rigid substrate during production |
| Double-sided prints | Up to 10 mm | Blockout PVC and double-sided jobs often need the larger allowance |
Converting to pixels depends entirely on your DPI setting. PixelMeasures shows that a 3 mm bleed at 150 DPI produces roughly half the pixel width of the same 3 mm bleed at 300 DPI, so always confirm which resolution your printer expects before you calculate pixel dimensions manually.
A couple of habits will save you rework:
- When a spec sheet doesn't list a bleed value, ask. Don't guess and hope.
- If you're stuck between two values, add slightly more bleed, never less. Trimming off excess is easy; recreating missing artwork after the fact isn't.
How to Set Up Bleed in InDesign, Illustrator, and Photoshop
Getting bleed right is mostly about sequence: set your trim size first, then add bleed, then place your assets.
- Set the final trim size. In InDesign, this is your document page size. In Illustrator, it's your artboard. In Photoshop, it's your canvas size.
- Enter the bleed value on all four sides. InDesign's New Document dialog has dedicated Bleed fields. Illustrator requires you to set bleed in the artboard options or at export. Photoshop needs bleed added manually as extra canvas around your design.
- Place images at full resolution and correct scale. Avoid stretching low-res assets to fill the bleed zone. That's one of the fastest ways to introduce visible pixelation at the trim edge.
- Use linked, not embedded, image files where your workflow allows it, so you can swap a higher-res version later without rebuilding the layout.
- Export with "Use Document Bleed Settings" enabled. Choose PDF/X-1a for straightforward CMYK jobs or PDF/X-4 when you need transparency or layered elements preserved.
- Outline or embed all fonts before sending the file so nothing reflows or substitutes on the shop's end.
Pro Tip: Build multiple sign sizes as separate artboards within one Illustrator file rather than separate documents. It keeps your brand elements consistent across sizes and makes it much easier to batch-export when a client orders the same design in three formats.
Safe Area, Crop Marks, and Export Settings Printers Expect
Safe area is your insurance against the same trim variance that bleed protects against, just applied from the inside. A rule of thumb: keep critical text and logos 5–10 mm inside the trim line, and push that margin larger on tall banners where material sway during hanging is more pronounced.
Resolution depends on viewing distance more than raw print size. For close-view signage like tabletop tents or lobby plaques, aim for 150–300 DPI at final size. For large outdoor signage viewed from a distance, effective resolution can run much lower since the eye simply can't resolve fine detail from 30 feet away. The file still needs to be built at true final dimensions, though, with vector elements used wherever possible to avoid any pixelation risk.
Before you hit export, run through this:
- Convert your file to CMYK, not RGB. What looks vibrant on a monitor often shifts unpredictably in print.
- Select a PDF/X standard appropriate to your job (X-1a or X-4).
- Confirm crop marks sit outside the bleed area, never inside it, since production marks overlapping the bleed zone can get printed onto the finished sign.
- Strip out any registration marks or color bars that don't belong in the final file.
A useful reference point: printers commonly hold to a fixed 0.125 inch minimum bleed standard across print jobs, which is exactly why that number shows up as the default across so many templates, regardless of the specific shop you're using.
Material and Finishing Choices That Change Your Bleed Needs
The substrate and the finishing method drive bleed requirements more than the design itself does. Fabric and stretch displays, along with double-sided prints, generally need more bleed and looser registration tolerance than a single-sided rigid panel, since soft material shifts more during production. Rigid substrates like aluminum composite or acrylic sometimes need extra clearance around the edges too, but for a different reason: mounting holes, routed corners, and standoffs need clearance that has nothing to do with color bleed but everything to do with where you can safely place design elements.
Finishing hardware creates its own dead zones. Pull-up and retractable banners typically hide part of the bottom of the design inside a cassette base, so anything you place there simply won't be visible once the banner is assembled. The same logic applies to:
- Grommets, which punch through material and need clear space around each hole.
- Hem pockets, which fold material under and hide whatever sits in that folded strip.
- Pole pockets, which behave the same way but along a full edge rather than isolated points.
When you're handed a manufacturer template, treat those hidden zones as gospel. A generic safe-area margin won't catch a cassette base or hem allowance that's specific to one hardware system.
Packaging and Shipping Basics for Finished Signs
A sign that's printed correctly can still arrive damaged if it's packed poorly, and that damage often lands right where your bleed and trim work matters most: the edges. Match your packaging to the material and size of what you're shipping.
- Small, flat prints generally do fine with bubble wrap and a sturdy flat mailer or single-wall carton.
- Larger panels need double-wall cardboard, foam corner protectors, and enough interior padding to keep the piece from shifting during transit.
- Fragile or glossy faces benefit from a protective interleaving sheet directly against the printed surface, not just wrap around the outside.
Before anything ships, run a quick check: face protection secured, carton sized correctly for the panel (not just "big enough"), and fragile-face labeling visible on the outside so handlers know which side to protect.
Preflight Checklist Before You Send Files to Print
Run this list before you export your final file, not after:
- Confirm final trim size and verify bleed is applied evenly on all four sides at the correct value for your material.
- Check color mode is CMYK, not RGB, and that fonts are outlined or fully embedded.
- Verify image resolution matches what your printer expects at final size, not a scaled-down preview.
- Confirm crop marks sit outside the bleed zone, with no stray production marks overlapping it.
- Note any finishing details — grommet positions, hem allowance, double-sided registration — either in a layer named clearly in the file or in a short cover note to the shop.
What Actually Trips Up Sign Files (and How to Fix It)
Request the manufacturer's template before you open a blank document. It sounds obvious, but skipping that step is the single most common reason files bounce back with corrections needed. Save an editable source file for every job too, even after you've exported the final PDF, because revision requests come in more often than anyone expects, and rebuilding a banner layout from a flattened PDF wastes real time.
Crispsign's production team reviews incoming files for exactly the issues covered here: missing bleed, fonts that weren't embedded, safe-area violations near grommet zones. Catching those problems before a job hits the print queue is what keeps turnaround fast instead of stuck in a correction loop.
Get Your Sign Made Without Second-Guessing the File Setup
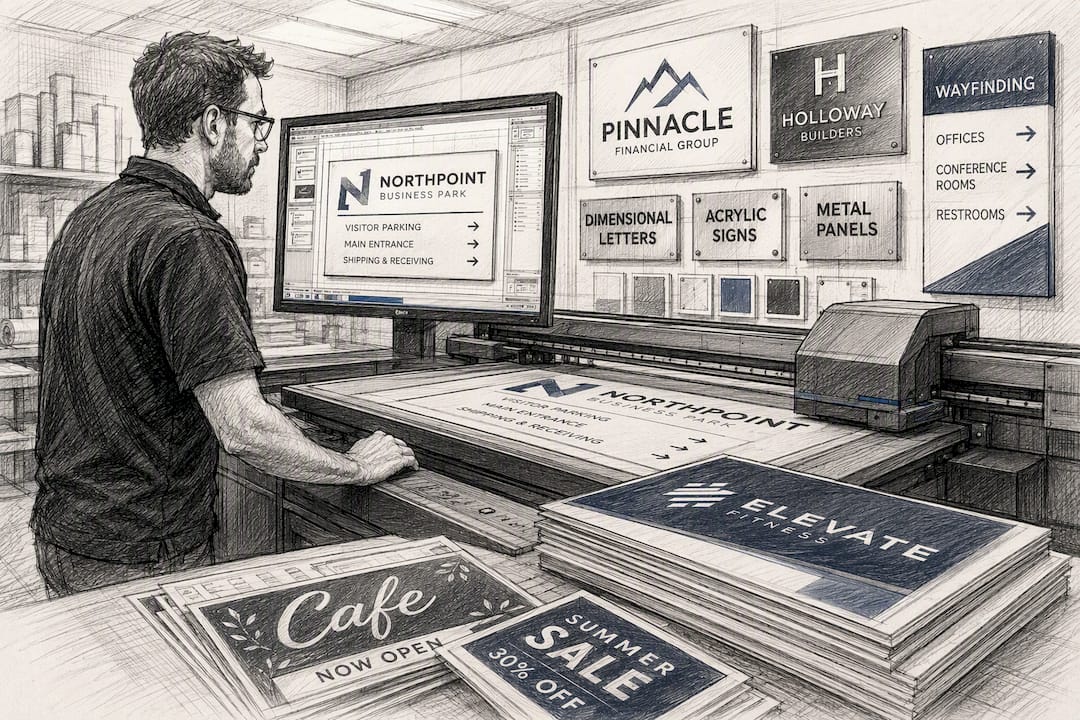
Crispsign built its file-check process specifically so you don't have to become a prepress expert to get a professional result. Send in your artwork, and the production team reviews bleed, safe area, resolution, and color mode before anything goes to print, catching the exact issues covered above.
Whether you need exterior channel letters, a carved cedar sign, an illuminated cabinet sign, or vinyl decals for a fleet of vehicles, Crispsign designs to your specifications online and ships nationwide, with optional coordinated installation if you'd rather not handle mounting yourself. If your file already has bleed built in, that's a head start. If it doesn't, the team catches it before it becomes a delay. Start your order or request a file check at Crispsign and get a real production timeline instead of a guess.
Sources
- What is Bleed? | Client Tools
- Artwork essentials guide (Venture Banners)
- Pull-Up Banner Artwork Setup Australia | Paperlust
- Banner Print Size: Trim, Bleed, Safe Area and Pixels | PixelMeasures
- Guide to Packaging Sheet Signage for Courier Delivery
FAQ
What Is a 0.25 Inch Bleed?
A 0.25 inch bleed means your artwork extends a quarter inch (6 mm) beyond the trim line on every side. Many sign providers use this as their standard default because it gives extra tolerance for trimming and finishing movement on rigid materials.
What Are Typical Bleed Requirements for Signage?
Most guidance points to 0.125 inches (3 mm) as the baseline, with 0.25 inches common for rigid signs and 3–10 mm for banners depending on the finishing method. Always confirm the exact figure against your specific printer's template.
How Much Bleed Do I Need for a 5x7 Print?
A standard 5x7 print typically uses the common 0.125 inch (3 mm) bleed default used for most small commercial prints. If the piece will be double-sided or printed on a specialty material, check with your printer, since that can push the requirement higher.
How Many Pixels Should Bleed Be?
Pixel bleed depends entirely on your file's DPI setting. At 300 DPI, a 0.125 inch bleed equals about 37 pixels; at 150 DPI, that same physical bleed is roughly half as many pixels, so always confirm your printer's expected resolution before calculating pixel dimensions.