Store Branding: A Practical Guide for Retailers
Store branding is how your physical space, signage, sensory cues, staff, and every customer touchpoint communicate your brand promise the moment someone walks through your door. The single highest-ROI move you can make right now is fixing your storefront sign and entrance sequence. Everything else builds from there.
Three actions you can complete in the next 30–90 days:
- Update your storefront signage. Your sign is your best salesperson. If it looks faded, generic, or mismatched with your interior, it's costing you walk-in traffic before a single word is spoken.
- Simplify the entry path and wayfinding. Customers who feel confused at the entrance leave. Clear directional cues and a logical flow from door to product reduce friction immediately.
- Standardize your logo and color on receipts, bags, and staff badges. These micro-touchpoints reinforce recognition every time a customer interacts with your team or carries your bag out the door.
Pro Tip: Photograph your storefront from across the street, the way a first-time visitor would see it. If you can't read your sign clearly or identify your category within three seconds, that's your first fix.
Key Takeaways
Strong store branding starts at the storefront: fix your exterior sign and entrance sequence first, then build inward through interior design, packaging, and staff touchpoints.
| Point | Details |
|---|---|
| Trust drives purchase decisions | Edelman data shows 81% of consumers require trust before considering a purchase — your storefront builds or breaks that trust first. |
| Audit before you spend | Score every touchpoint 1–3 and fix broken ones before investing in new elements. |
| Phase your rollout | Start with storefront and entrance (Phase 1), then interior signage (Phase 2), then packaging and uniforms (Phase 3). |
| Budget for permits and contingency | Permitting adds 2–6 weeks and municipalities vary widely; build a 10–15% contingency into any signage project. |
| Crispsign for storefront signage | Crispsign fabricates custom exterior and interior signs, ships nationwide, and coordinates optional professional installation. |
Table of Contents
- Why store branding is a business strategy, not just decoration
- What are the core touchpoints in a store brand?
- How do you build or refresh a store brand step by step?
- How does in-store design shape customer behavior?
- How do you find and brief designers, signmakers, and installers?
- What signage specs and costs should you plan for?
- How do you measure the impact of your store branding?
- What does a phased branding rollout cost?
- A practitioner's perspective on what actually moves the needle
- Crispsign helps you get your storefront brand right, fast
- Sources
- FAQ
Why store branding is a business strategy, not just decoration
Most owners think of branding as a logo and a color scheme. The real definition is broader: your retail brand identity is the sum of every signal your store sends, from the typeface on your window vinyl to the scent near the entrance to how your staff greets customers. Shopify's branding guides describe brand identity as including mission, voice, visual kit, and guidelines that scale across touchpoints, and note that consistent guidelines reduce long-term marketing friction.
The business case is direct. Edelman's research found that 81% of consumers need to trust a brand before they will consider making a purchase. Trust doesn't start online. For a physical store, it starts at the curb. A professional, consistent exterior tells a passing customer that you're credible, established, and worth their time. An inconsistent or neglected one does the opposite.
The B2B side of retail branding carries the same weight. McKinsey's multi-year research on business branding shows that business customers prioritize perceived honesty and reliability when selecting suppliers, making clear, professional branding a central element of a supplier's proposition. For retailers who sell to other businesses or operate in commercial districts, that signal matters.
The measurable outcomes of strong retail branding include:
- Higher foot traffic from better storefront visibility and recognition
- Faster conversion because customers arrive pre-sold on your credibility
- Longer dwell time when the interior environment feels intentional and comfortable
- Stronger repeat rates driven by a consistent, memorable experience
- Greater brand equity that supports pricing power and word-of-mouth referrals
When your store as a brand becomes the destination rather than any single product, you've built something competitors can't easily copy.
What are the core touchpoints in a store brand?
A brand audit covers every point where a customer forms an impression. Split them into four categories: visual, verbal, experiential, and service. Miss one category and you'll have gaps that undercut the rest.
Visual touchpoints:
- Exterior signage (channel letters, illuminated cabinets, monument signs, window vinyl): the first brand signal most customers see
- Logo and color palette: must be consistent across every surface, digital and physical
- Typography: your font choices communicate personality before a word is read
- Fixtures and shelving: the material, finish, and arrangement signal price point and brand tier
- Packaging and shopping bags: mobile billboards that travel beyond your four walls
- Staff uniforms or branded badges: turns your team into walking brand ambassadors
Experiential touchpoints:
- Lighting: warm light signals comfort and premium; cool light signals precision and efficiency
- Music: tempo and genre shape pace and mood; a curated playlist is a brand decision
- Scent: a consistent, subtle scent increases dwell time and recall
- Layout and sightlines: the path customers travel determines what they discover
Verbal and service touchpoints:
- Staff greeting scripts and tone: your brand voice spoken aloud
- Signage copy and wayfinding labels: every word on a sign is a brand decision
- Receipts, email confirmations, and follow-up messages: often overlooked, always noticed
Pro Tip: Prioritize what local customers notice first: storefront, then entrance, then checkout. Audit in that order and fix in that order. Perfecting the interior before the exterior is like repainting a room before fixing the roof.
How do you build or refresh a store brand step by step?
A brand refresh for a small or medium store typically runs 8–10 weeks. A full rebrand from scratch takes 10–14 weeks. Here's a practical workflow with deliverables at each phase.
Research (Week 1–2). Survey your current customers, walk your competitors' stores, and photograph every touchpoint you own. Deliverable: a one-page brand audit scoring each touchpoint as strong, acceptable, or broken. Business Queensland recommends a brand audit and a one-page brand strategy as the first two actions any business should take.
Positioning (Week 2–3). Define your brand promise in one sentence: who you serve, what you deliver, and why they should believe you. Deliverable: a positioning statement and three to five brand values.
Visual identity (Week 3–5). Work with a designer to develop or refine your logo, color palette, and typography. Use Canva's brand identity resources or a professional designer for a full kit. Deliverable: primary logo, secondary logo, color codes (HEX, CMYK, Pantone), and approved typefaces.
Brand kit and guidelines (Week 5–6). Document how every element is used: logo clear space, color ratios, font hierarchy, photography style, and tone of voice. Shopify's seven-step brand-building process places guidelines at step six for exactly this reason. Deliverable: a one-page brand brief and a PDF brand guidelines document.
Rollout (Week 6–12). Apply the identity to touchpoints in priority order: storefront signage first, interior next, packaging and uniforms last. Deliverable: updated signage installed, interior fixtures aligned, staff briefed.
One-page brand brief template outline:
- Business name and location
- Brand promise (one sentence)
- Target customer (one paragraph)
- Three to five brand values
- Color palette (HEX and CMYK codes)
- Primary and secondary fonts
- Logo file formats needed (vector .AI or .EPS, PNG with transparent background)
- Signage scope (exterior, interior, vehicle, window)
- Timeline and approval contacts
If your budget or time is limited, compress phases 3 and 4 into a single week by using a brand kit template and focusing on logo, two colors, and one font. That's enough to brief a signmaker and get consistent output.
How does in-store design shape customer behavior?
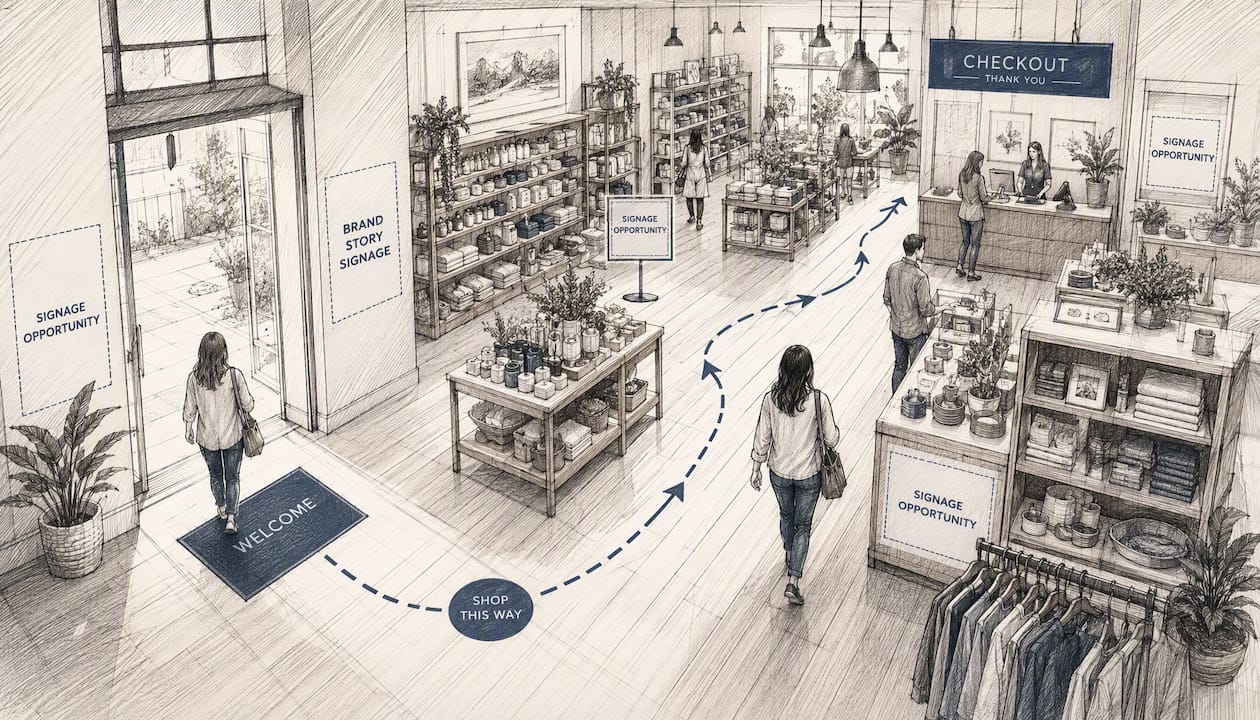
Layout is the invisible hand that guides every customer through your store. The entry-to-checkout path determines what gets discovered, what gets skipped, and how long someone stays.
Layout and sightlines work together to create discovery moments. Place your highest-margin or most visually striking products at the first focal point after the entrance, roughly 10–15 feet in. Keep the path clear and logical. Dead ends and cluttered aisles shorten dwell time and increase frustration.
Lighting choices are one of the fastest ways to shift brand perception without touching a single fixture's position:
- Warm white (2700K–3000K) works well for food, home goods, and lifestyle brands
- Neutral white (3500K–4000K) suits apparel and general retail
- Cool white (5000K–6500K) signals clinical precision, fitting pharmacies and tech stores
- Accent lighting on key products increases perceived value and draws the eye
Sonic and scent strategies are often the last things owners think about and the first things customers remember. A playlist with a consistent tempo and genre reinforces brand personality without a single word. Scent, used subtly, increases dwell time and purchase likelihood. Both are easy to A/B test: run one playlist for two weeks, switch to another, and compare average ticket and dwell time.
Pro Tip: Run a five-minute "stranger test." Ask someone who has never been in your store to walk in and describe what they think you sell and who you sell it to. If their answer doesn't match your positioning, your environment is sending the wrong signal.
A statistic worth keeping in mind: Edelman's data shows 81% of consumers require trust before purchase consideration. In a physical store, that trust is built or broken in the first 30 seconds of the in-store experience, before a staff member says a word.
How do you find and brief designers, signmakers, and installers?
Hiring the wrong vendor for a signage or branding project costs more than the invoice. A poorly fabricated sign, a missed permit, or a botched installation can set a project back by weeks and damage the brand it was meant to build.
What to include in your design or installation brief:
- Scope of work (exterior sign types, interior panels, vehicle graphics, window vinyl)
- Site address and any known permit requirements or HOA restrictions
- Preferred materials and finishes
- Brand files (vector logo, color codes, approved fonts)
- Approval gates (proof sign-off before fabrication, site visit before installation)
- Timeline with hard deadlines
- Warranty expectations for materials and installation
Essential deliverables to request from every vendor:
- Vector source files for all designed artwork (.AI or .EPS format)
- Color specification sheet (Pantone, CMYK, and HEX)
- Mounting detail drawings showing hardware and wall anchoring
- Permit documentation (if the vendor is pulling permits on your behalf)
- Maintenance instructions for the specific materials used
Red flags to screen for before signing:
- No knowledge of local sign codes or permit processes
- No installation references from comparable projects
- Vague or missing warranty language
- No process for proof approval before fabrication begins
- Pressure to skip a site survey
Pro Tip: Ask every signmaker for two references from projects of similar scale and material type. Call them. Ask specifically about timeline accuracy and how the vendor handled problems. A vendor who has never had a problem hasn't done enough projects.
Chain Store Age notes that multi-location rollouts frequently underestimate signage complexity. Even single-location owners benefit from treating their project with the same rigor: a clear brief, a signed scope, and a defined approval process before fabrication starts.
What signage specs and costs should you plan for?
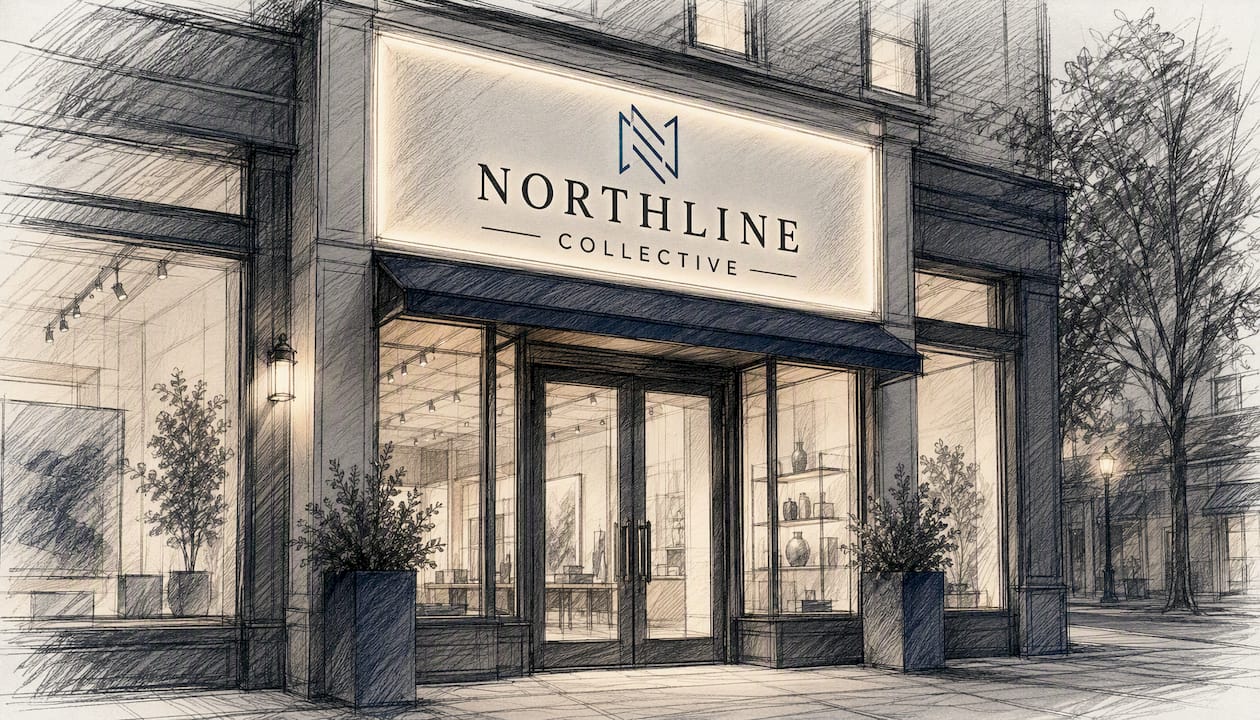
Signage is the highest-impact brand lever for most physical stores. A well-fabricated exterior sign works around the clock, communicates your brand to every passerby, and signals credibility before a customer ever steps inside.
Common exterior sign types and what to expect:
Cost ranges reflect typical U.S. small-to-medium business projects. Final pricing depends on size, material, finish, and installation complexity.
Spec checklist to copy into your vendor brief:
- Sign dimensions (width × height in inches)
- Mounting surface material (brick, stucco, metal panel, glass)
- Power source availability for illuminated signs
- Viewing distance (how far away should the sign be readable?)
- Letter height minimum for legibility at that distance (a general rule: 1 inch of letter height per 10 feet of viewing distance)
- Preferred illumination type (LED face-lit, halo-lit, or non-illuminated)
- Color match to brand Pantone or HEX codes
Pro Tip: Pull your local municipality's sign permit requirements before you order. Permitting typically adds 2–6 weeks to a project timeline, and some jurisdictions restrict sign size, illumination type, or placement. Starting the permit application the same week you approve your design proof keeps the project on schedule.
Crispsign fabricates exterior channel letters, illuminated cabinet signs, carved cedar signs, monument signs, interior lobby logos, acrylic wall panels, window and wall vinyl graphics, and full vehicle branding graphics including wraps and cut-vinyl decals. All products are designed online, built to your specifications, and shipped nationwide, with optional professional installation coordination.
How do you measure the impact of your store branding?
You can't manage what you don't measure. A simple measurement framework keeps your branding investment accountable and tells you which changes are working.
Primary KPIs to track:
- Foot traffic: use a door counter or point-of-sale entry log; compare week-over-week before and after a signage or layout change
- Conversion rate: transactions divided by foot traffic; a rising conversion rate after a rebrand signals that the environment is doing its job
- Dwell time: average time in store; longer dwell typically correlates with higher average ticket
- Average ticket: total revenue divided by transactions; a well-merchandised, well-branded store tends to lift this over time
- Repeat visit rate: track loyalty program sign-ups or card-on-file transactions; repeat rate is the clearest signal of brand loyalty
- Net Promoter Score (NPS): a simple one-question survey ("How likely are you to recommend us?") run quarterly
- Unaided awareness: ask new customers how they found you; "I walked by and noticed the sign" is a direct attribution to your storefront branding
A simple audit checklist:
- Score each touchpoint on a 1–3 scale (1 = broken or missing, 2 = acceptable, 3 = strong)
- Prioritize any touchpoint scoring 1 for immediate fix
- Schedule touchpoints scoring 2 for the next 30–60 days
- Review touchpoints scoring 3 annually to keep them current
Running small experiments:
Change one variable at a time. Swap a playlist genre for two weeks and measure dwell time. Add a window vinyl promotion and track foot traffic. Move a focal display and watch conversion. Single-variable tests give you clean data; multi-variable changes give you noise.
Pro Tip: Photograph every touchpoint before any change and date the photo. A before-and-after visual record is the fastest way to communicate progress to a business partner, landlord, or investor, and it keeps your audit honest.
What does a phased branding rollout cost?
Budget planning for a store rebrand works best in three phases. Trying to do everything at once usually means doing nothing well.
Phase 1: Storefront and entrance (Weeks 1–6)
This is where your money has the most impact. Exterior signage, window vinyl, and entrance wayfinding are seen by every potential customer before they decide to walk in.
- DIY (window vinyl, printed banners, basic wayfinding): $300–$1,500
- Hybrid (professional exterior sign + DIY interior): $2,000–$6,000
- Full professional (fabricated exterior sign, window graphics, entrance design): $5,000–$15,000+
Phase 2: Interior signage and fixtures (Weeks 6–12)
Interior brand application includes wall panels, category signage, display fixtures, and lighting upgrades.
- DIY (printed signs, off-the-shelf fixtures): $500–$2,000
- Hybrid (acrylic panels + DIY category signs): $2,000–$5,000
- Full professional (custom fixtures, lobby logo, full interior signage system): $5,000–$20,000+
Phase 3: Packaging, uniforms, and full brand kit (Weeks 12–20)
This phase locks in the brand across every remaining touchpoint.
- DIY (branded bags, printed receipts, staff name badges): $500–$2,000
- Hybrid (custom packaging + digital brand kit): $2,000–$6,000
- Full professional (custom packaging, embroidered uniforms, complete brand guidelines): $5,000–$15,000+
Items owners frequently forget to budget for:
- Sign permits ($50–$500+ depending on municipality)
- Mounting hardware and electrical rough-in for illuminated signs
- Landlord approval process (can add 2–4 weeks)
- Contingency for material or fabrication changes after proof approval
Chain Store Age coverage consistently notes that retailers underestimate the logistical complexity of signage rollouts.
A practitioner's perspective on what actually moves the needle
Most branding guides spend the majority of their pages on strategy and theory. The owners who actually see results spend the majority of their time on execution. Here's what I've observed working with small and medium retailers on signage and brand rollouts.
The storefront sign is almost always the highest-leverage investment a physical store can make, and it's almost always the last thing owners get around to fixing. They'll spend months perfecting the interior, the packaging, and the social media presence, while the sign outside is faded, misaligned, or generic. That's backwards. The sign is what gets someone through the door in the first place.
The second pattern I see consistently: owners underestimate how much a permit delay can compress a project. Order your sign, approve your proof, and submit your permit application in the same week. Don't wait for permit approval before starting fabrication on materials that don't require a permit (interior panels, vehicle graphics, window vinyl). Run those tracks in parallel and you'll save two to four weeks.
The third thing worth saying plainly: brand consistency matters more than brand perfection. A store with a simple, clean, consistently applied identity outperforms a store with a beautiful brand kit that's applied differently on every surface. Pick your colors, your font, and your logo. Apply them everywhere.
Crispsign helps you get your storefront brand right, fast
Your storefront sign is your highest-visibility brand asset, and getting it fabricated correctly, on time, and to spec shouldn't require a project management degree.
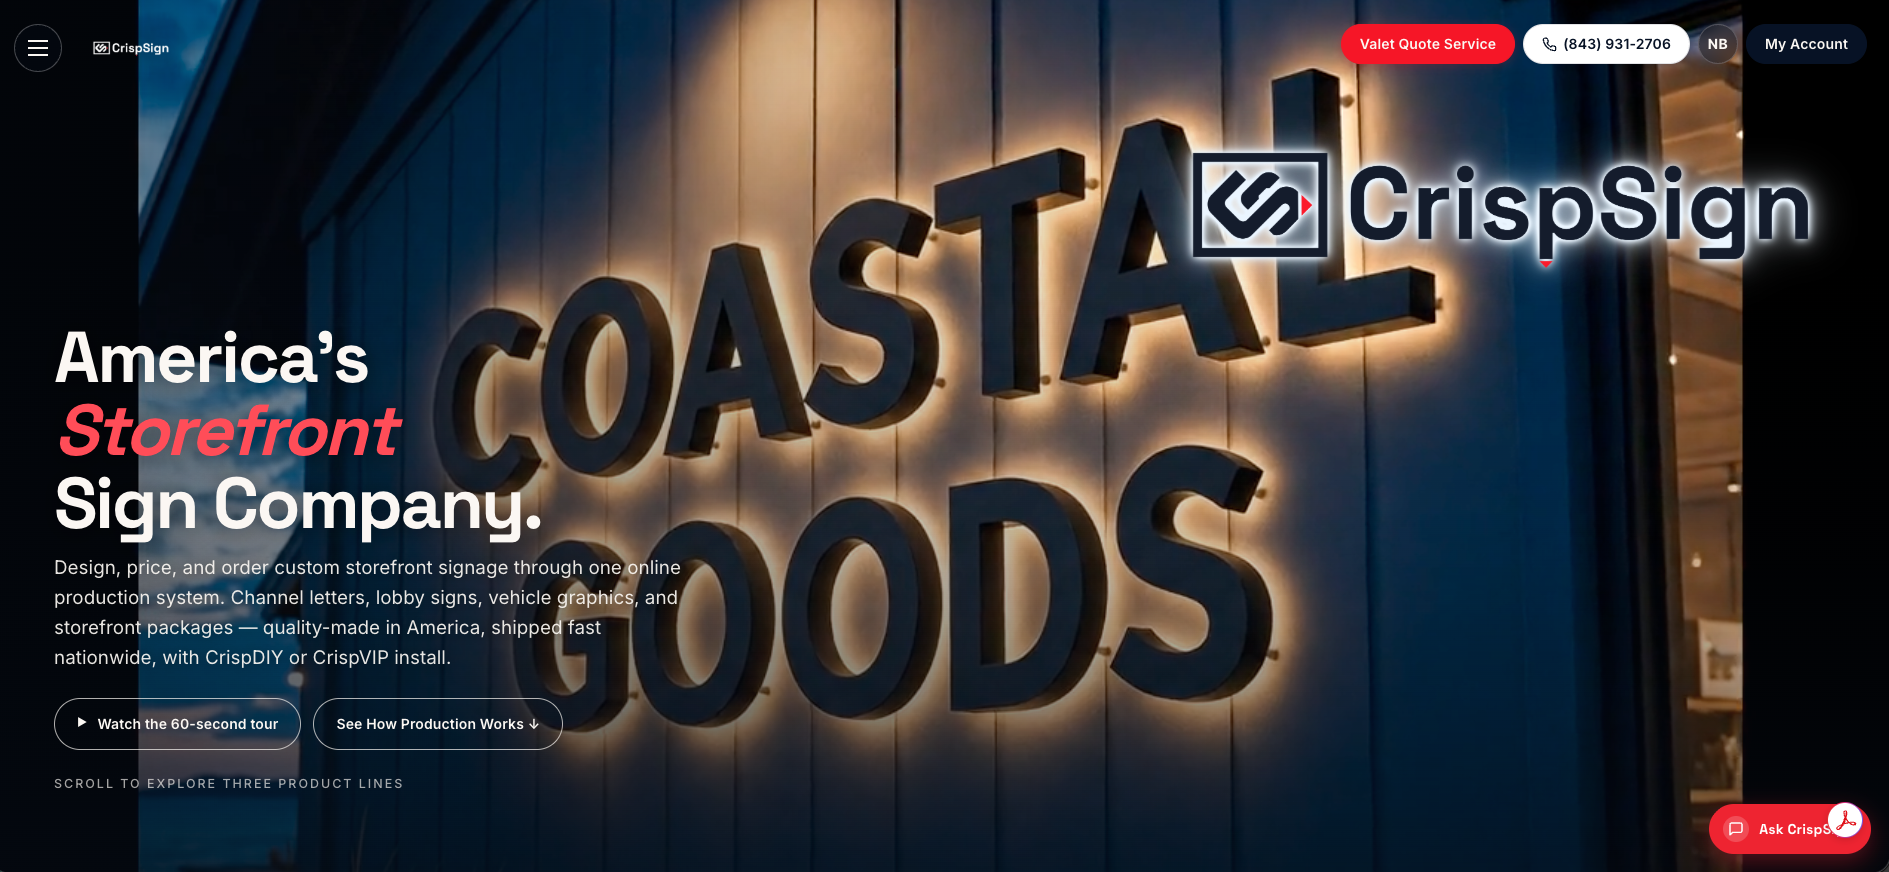
Crispsign produces custom exterior channel letters, illuminated cabinet signs, carved cedar signs, monument signs, interior lobby logos, acrylic wall panels, window and wall vinyl graphics, and full vehicle wraps, all designed online and built to your exact specifications. The production workflow is built for speed without cutting corners on quality, so small and medium businesses get professional-grade results without the agency overhead.
Before you place your order, have these ready: site photos showing the mounting surface, sign dimensions, your vector logo file (.AI or .EPS), your brand color codes (Pantone or HEX), and any permit information your municipality requires. Optional professional installation can be coordinated for a flat added fee.
Get a custom sign quote and see how fast your storefront can look the part.
Sources
- McKinsey — Business Branding: Bringing strategy to life
- Shopify — What is branding?
- Retail Town — Branding strategies for retailers
- Business Queensland — Branding your business
FAQ
How do you brand your store?
Start with a one-page brand brief covering your promise, colors, logo, and fonts, then apply it to touchpoints in priority order: exterior signage first, interior second, packaging and uniforms third. Consistency across all touchpoints, not perfection on any single one, is what builds recognition.
What is the 3-7-27 rule of branding?
The brand recall framework underscores why consistent, repeated brand signals across signage, packaging, and staff touchpoints matter more than a single impressive impression.
What are the 5 C's of branding?
The 5 C's vary by source, but a widely used version covers Clarity (a clear brand promise), Consistency (uniform application across touchpoints), Credibility (delivering on the promise), Connection (emotional resonance with customers), and Character (a distinct personality). Apply all five to your physical store and your signage will reinforce each one.
What are the 7 pillars of branding?
Definitions differ across practitioners, but a common framework includes purpose, positioning, personality, perception, promotion, presence, and performance. For a physical retail store, "presence" is where signage, layout, and sensory design do the heaviest lifting.
How long does a store branding project take?
A focused refresh, covering exterior signage, entrance, and core interior elements, typically runs 8–10 weeks from brief to installation. A full rebrand from scratch takes 10–14 weeks, with permitting often adding 2–6 weeks depending on your municipality.